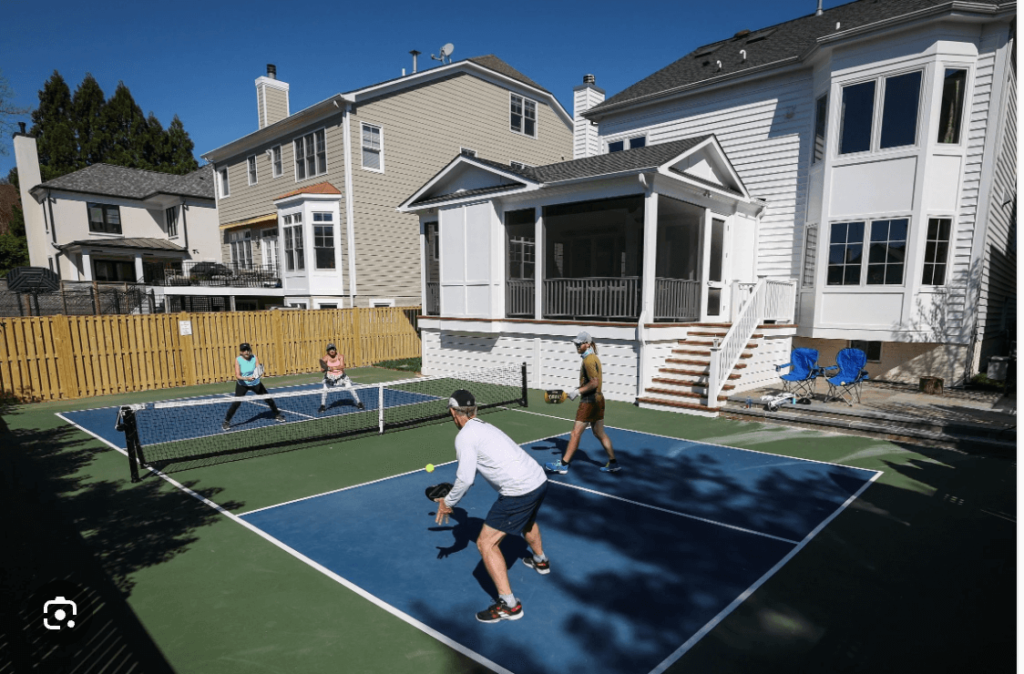
Setting Up a DIY Pickleball Court in Your Backyard: A Step-by-Step Guide
Are you a pickleball enthusiast looking to enjoy the sport from the comfort of your own home? Well, you’re in luck! Creating a DIY pickleball court in your backyard is a fantastic and feasible project you can complete on a weekend. In this blog post, I’ll walk you through the step-by-step process, covering everything from the required materials to dimensions and maintenance tips. So grab your DIY spirit, and let’s get started!
Table of Contents
- Why DIY?
- Planning and Zoning
- Materials Needed
- Step 1: Measure and Mark the Dimensions
- Step 2: Prepare the Ground
- Step 3: Install the Posts
- Step 4: Create the Playing Surface
- Step 5: Paint the Lines
- Step 6: Set Up the Net
- Maintenance Tips
- FAQs
- Summary
Why DIY?
Creating your own pickleball court gives you the freedom to play whenever you want, saves on gym membership fees, and can be a fun family project. Plus, a home court adds value to your property!
Planning and Zoning
Before you start, check with your local zoning office to ensure you can legally build a court in your backyard. You’ll also need to consider factors like the sun’s direction and the ground’s level.
Materials Needed
- Measuring tape
- String
- Stakes
- Post-hole digger
- Concrete
- Asphalt or concrete surface material
- Paint
- Paintbrush or sprayer
- Net and post system
Step 1: Measure and Mark the Dimensions
A standard pickleball court is 20 feet wide and 44 feet long. Use your measuring tape, stakes, and string to mark these dimensions in your backyard.
Step 2: Prepare the Ground
Remove any grass, rocks, or debris. You’ll want a level surface, so you may need to fill in any holes or low spots.
Step 3: Install the Posts
Dig holes for the net posts about 22 feet apart (center to center) along the length of the court. Fill these holes with concrete and set your posts.
Step 4: Create the Playing Surface
Choose between asphalt and concrete for your surface. Follow the manufacturer’s instructions to lay this down, ensuring it’s as level as possible.
Step 5: Paint the Lines
Using white or yellow paint, mark the outlines for the playing area, service boxes, and non-volley zones.
Step 6: Set Up the Net
Attach your net to the installed posts. Ensure the net height is 36 inches at the sidelines and 34 inches in the middle.
Maintenance Tips
Regularly check the net, sweep the surface, and repaint lines as needed. Keep it clean, and it will last for years.
FAQs
- What’s the cost?
- Around $1000-$2000, depending on your choice of materials.
- How long will it take?
- A weekend, if you’re well-prepared.
- Can I use other materials for the surface?
- Asphalt and concrete are recommended, but modular sports tiles can also be used.
- What are the official dimensions?
- 20 feet by 44 feet.
- Do I need special paint?
- Use a paint meant for sports courts or exterior use.
Summary
Building a DIY pickleball court in your backyard isn’t just a rewarding project; it’s your ticket to endless hours of fun and physical activity. So why wait? Grab your materials and get started today!
The information in this blog post comes from my research and experience playing pickleball and can be found in my books — HOW TO GET STARTED PLAYING PICKLEBALL, HOW TO IMPROVE FROM BEGINNER TO INTERMEDIATE IN PICKLEBALL, and PICKLEBALL FOR SENIORS — all available on Amazon. I hope you learn something from this post that you can take onto the courts to help you improve your game.